


Table of Contents
New portal of Income Tax Return – e-Filing 2.0
Infosys and our Finance minister has launched the new portal for ITR in June 2021. It has been given the name e-Filing 2.0, which Infosys claims would make filing income tax returns very easy.
Here we are going to show the steps to file income tax return for a salaried individual, but anyone else can also understand for the post, as the steps are mostly similar.
New features of the portal
We have seen websites like Cleartax, providing the option to upload Form-16, for salaried individuals, and easily fill up the ITR form without much hassle. The same technology has been used in the new official portal as well now. But it has been more easy, as you do not have to upload the FORM16 yourself, it would automatically be taken care once your company sends the FORM 16 to the income tax department.
Moreover, the fields have been made more user friendly and much more easy to understand. Instead of just mentioning the section number, the description of the fields are clear enough now for any person to understand what it stands for.
Steps to file ITR using the new Income Tax portal
Let us now come to the main topic for filing e-Filing 2.0 steps for salaried person.
Step 1:
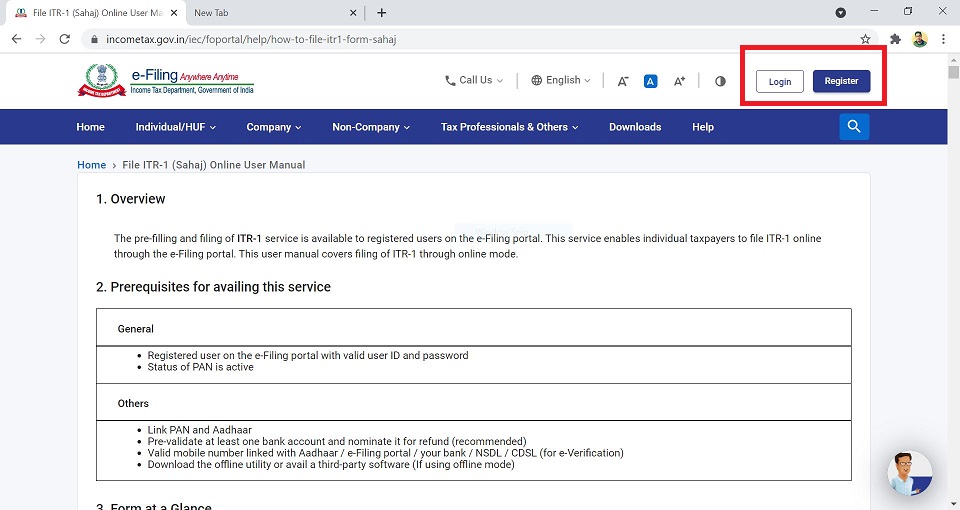
Open the portal www.incometax.gov.in and click on Login. If you do not have account, then you can register clicking on the register button in the new portal.
Step 2:
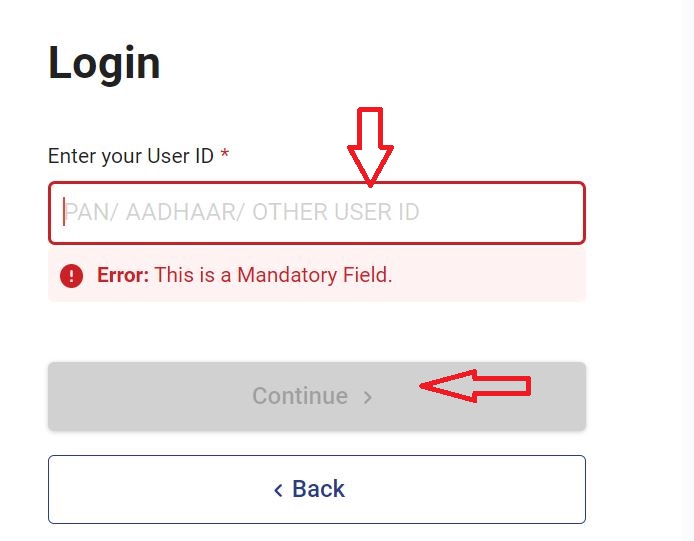
Enter the User ID of the old portal and click on Continue.
Step 3:
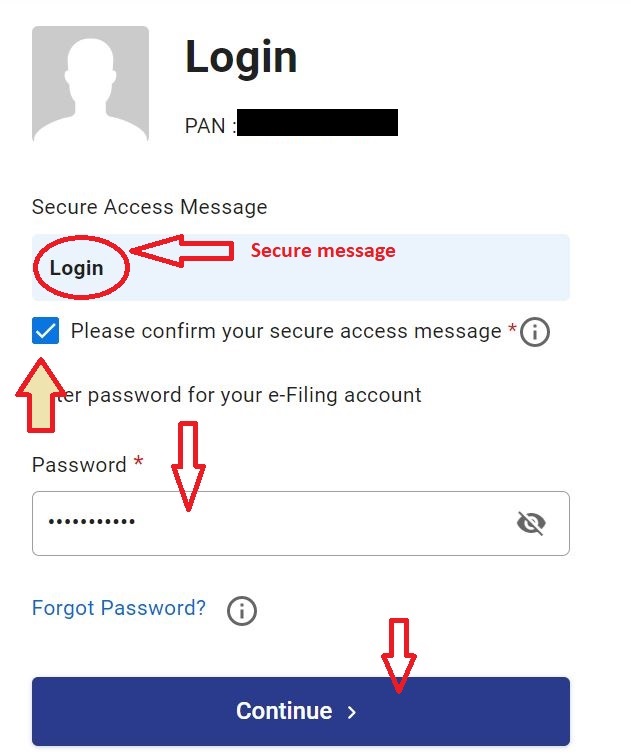
Verify the secure message and tick the confirmation check box. The secure message here is any message which you can set in the profile after 1st login. If you see some other text other than what you have set, then do not process with the website login. In first login, you will always see the “login” as the message, as that is the default.
Tick the confirmation box and enter the password and click on Continue.
Step 4:
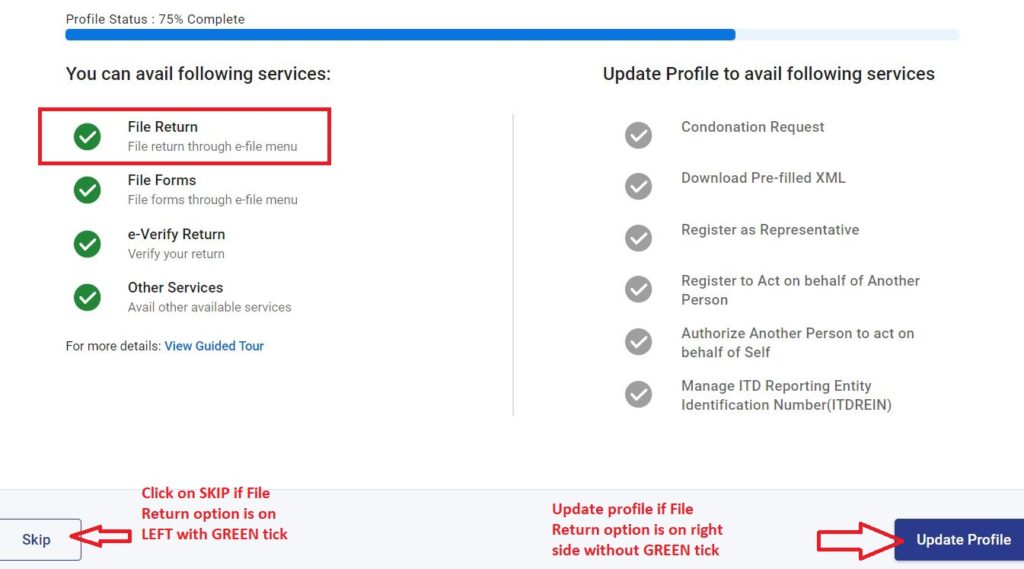
Now you will land on the dashboard page. Here you will see two options – Update profile and Skip.
Check if File Return option is on the left side under the heading “You can avail following services” with a Green tick before it. If it is so, then click on SKIP.
If the File Return option is on the right side with a Grey tick beside it, then click on Update Profile button. Then you will be taken to your profile page. Fill the information as needed and then save the profile. When you come back to the dashboard, you will now see the File Return as GREEN. If that is not the case, then you must fill more information in your profile.
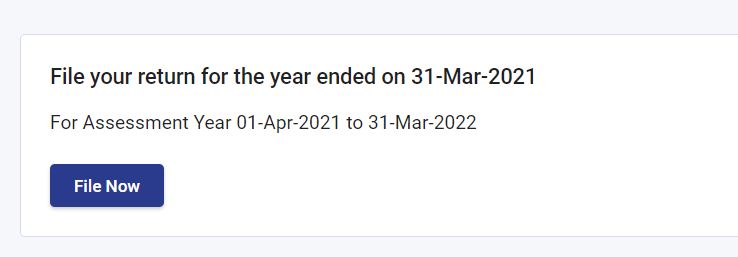
Step 5:
Click on FILE NOW
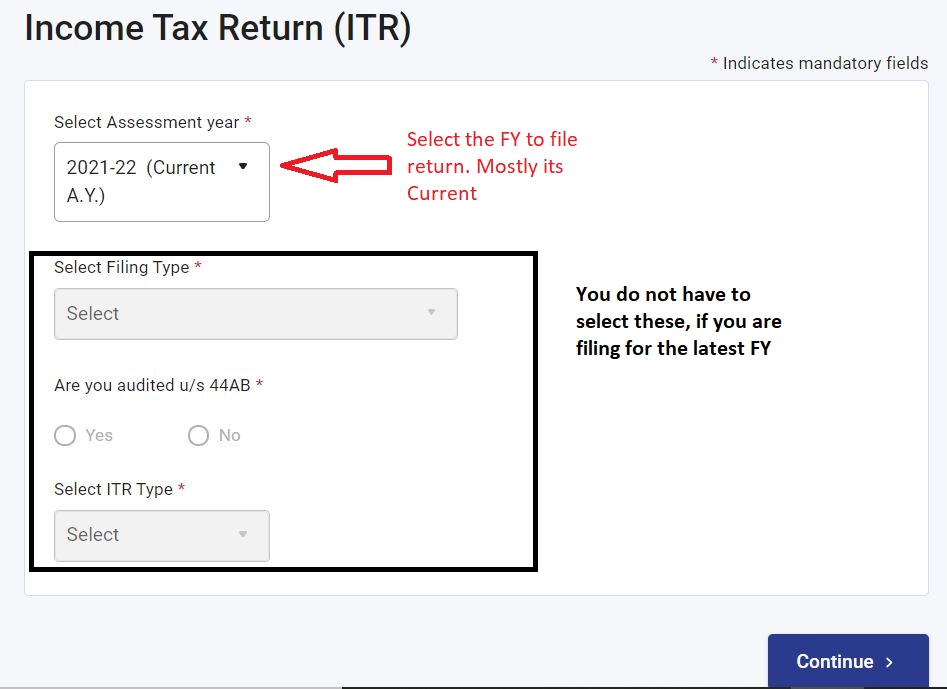
Step 6:
Select the Assessment Year and click on Continue. The rest of the fields would be disabled if your select the current FY.
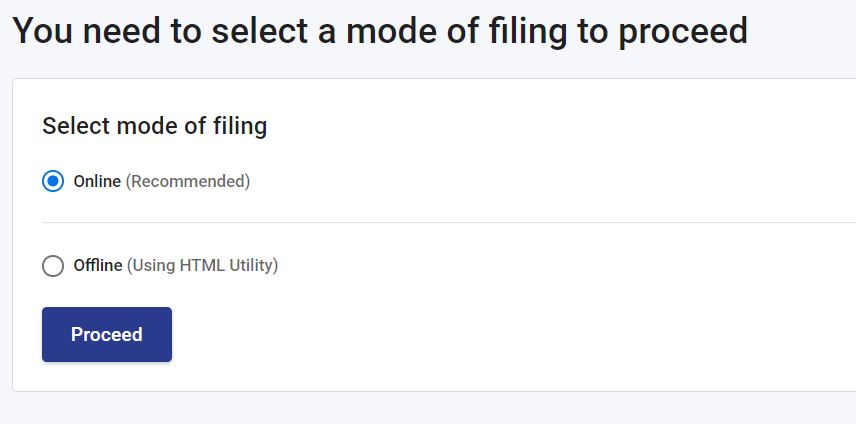
Step 7:
Select the mode of filing as Online. There is also offline mode available, but it is better to go with the online option.
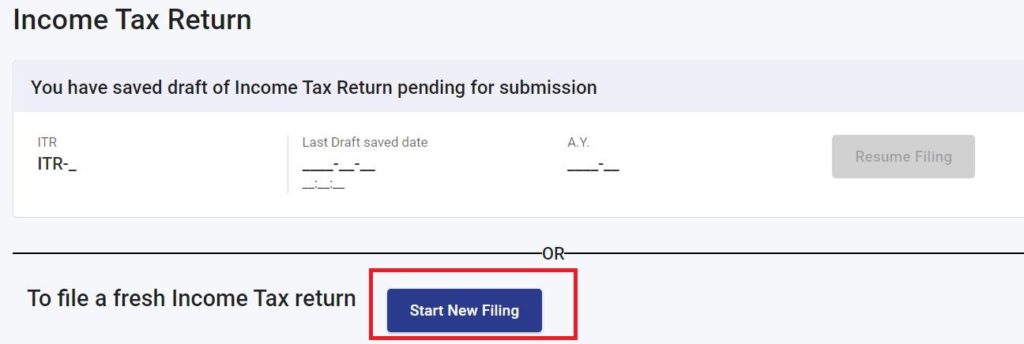
Step 8:
Click on Start new Filing. The Resume filing option would be enabled and you need to click it, if you leave the portal halfway filing your return.
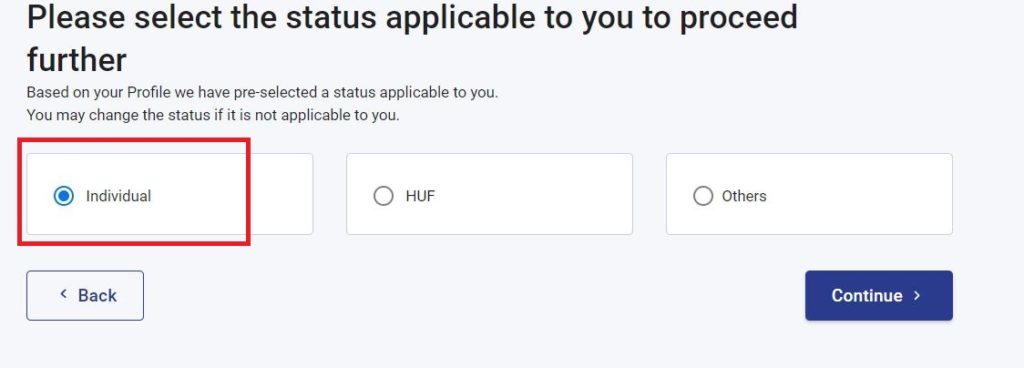
Step 9:
Select Individual.
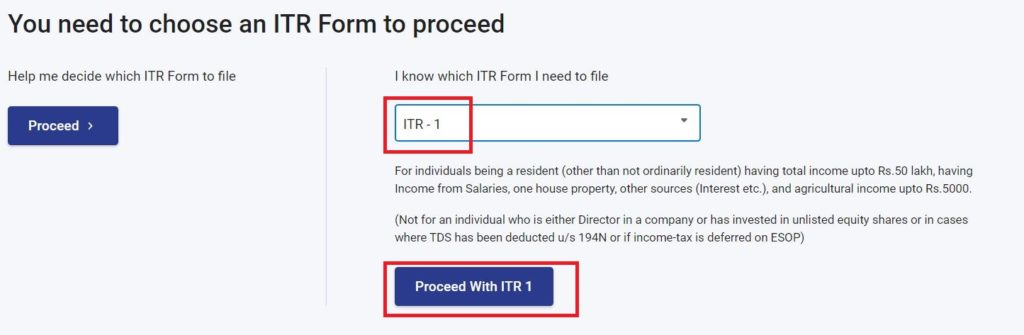
Step 10:
Select ITR-1 and click on Proceed with ITR-1
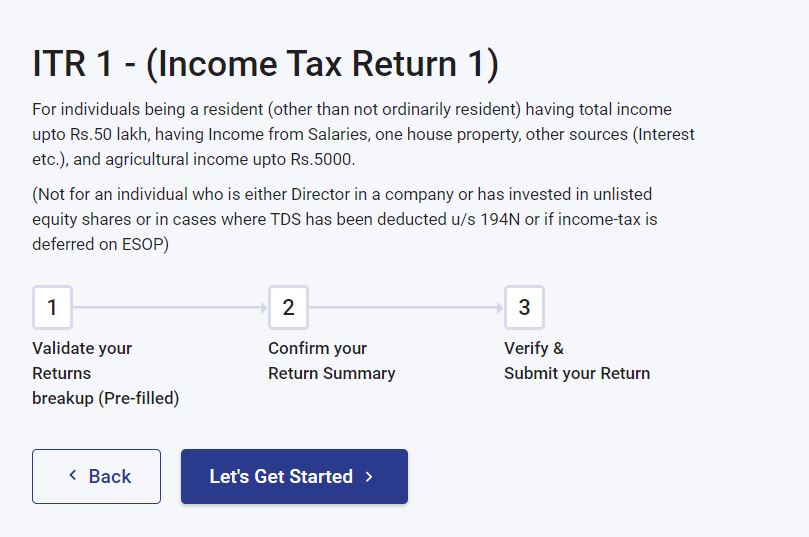
Step 11:
Click on Let’s Get Started.
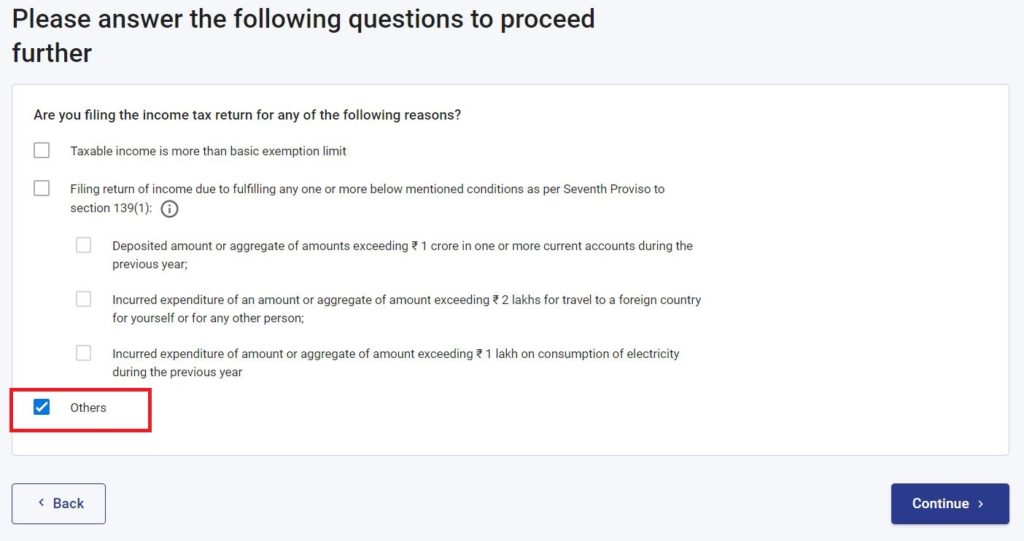
Step 12:
Select the appropriate reason from the list. If you are not sure, select Others and continue.
Step 13:
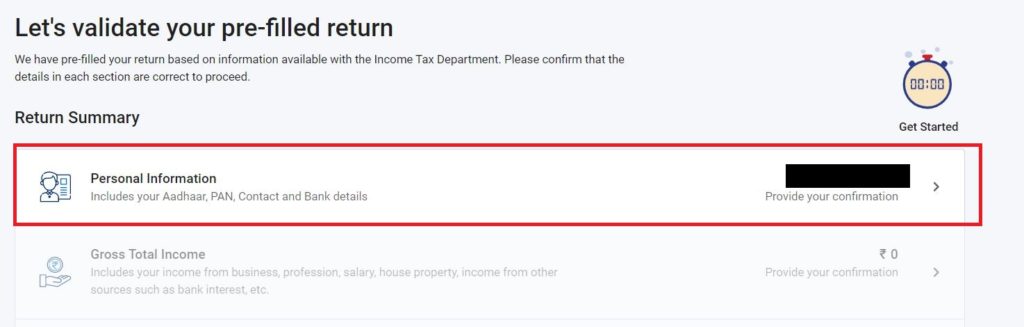
Now if your company has sent the FORM16 to the IT department, then the values would be auto filled. You need to open each section and verify if the values are correct. If not, you can correct the values yourself as well.
If you do not have FORM 16 or your organization do not provide one, then also same way, you can get into each section and enter the data yourself.
You have to get into each section and confirm the data one by one, starting with Personal Information.
Step 14:
Check the values. Correct the values if they are not correct.
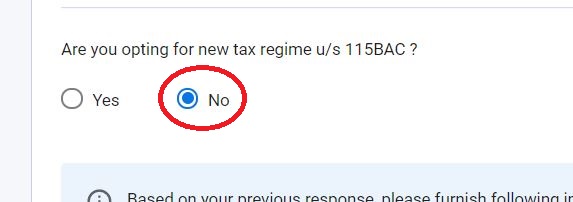
Select the option of new tax regime to be YES or NO according to your need. If you are not aware of the new tax regime, select NO.
Select the Nature of Employment. Select Others if you are working in a Private company.
Step 15:
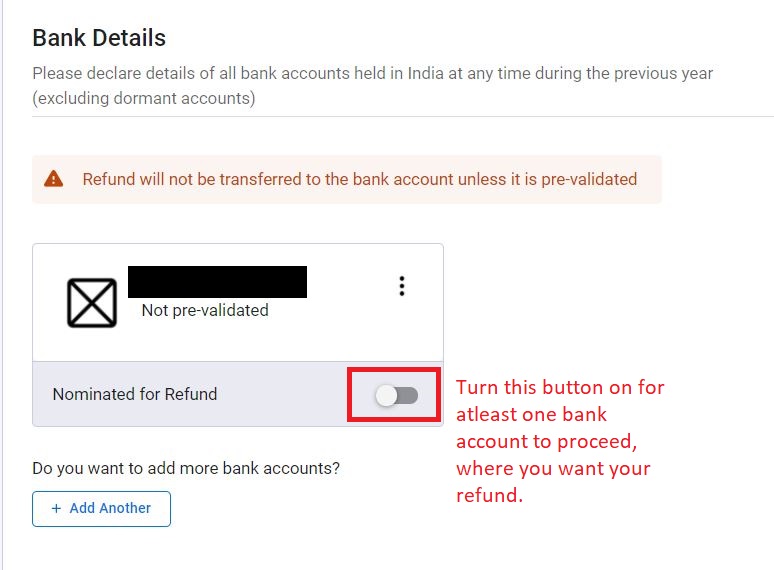
In the Bank details section, you have to provide the details of every bank account you have. Select the ADD ANOTHER button to add a new bank detail.
You must switch the NOMINATE FOR REFUND button ON for at least one bank.
Your bank account must be pre-validated to receive the refund. If not, pre-validate your account. If you are not sure how to pre-validate the bank account, let me know in the comment section of the post. I will create a post with the steps for the same.
Step 16:
Click on Confirm, and then select the next section Gross Income.
Step 17:
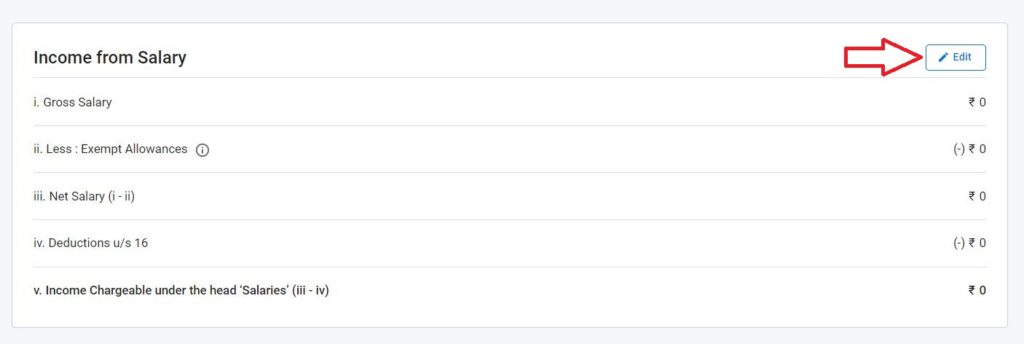
Verify the income details. Click on the EDIT button to correct the amount if not correct already.
Enter the values and click on SAVE.
Provide all the other income details and finally click on Confirm.
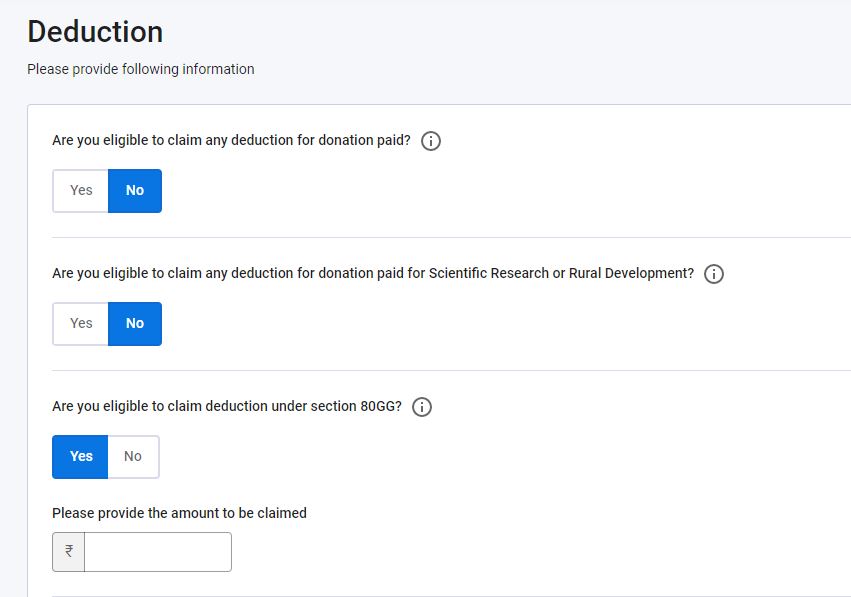
Step 18:
Lets now go to the deduction section and provide all the details.
Select YES or NO for the questions as applicable. If you select YES, a box will open for you to put the value.
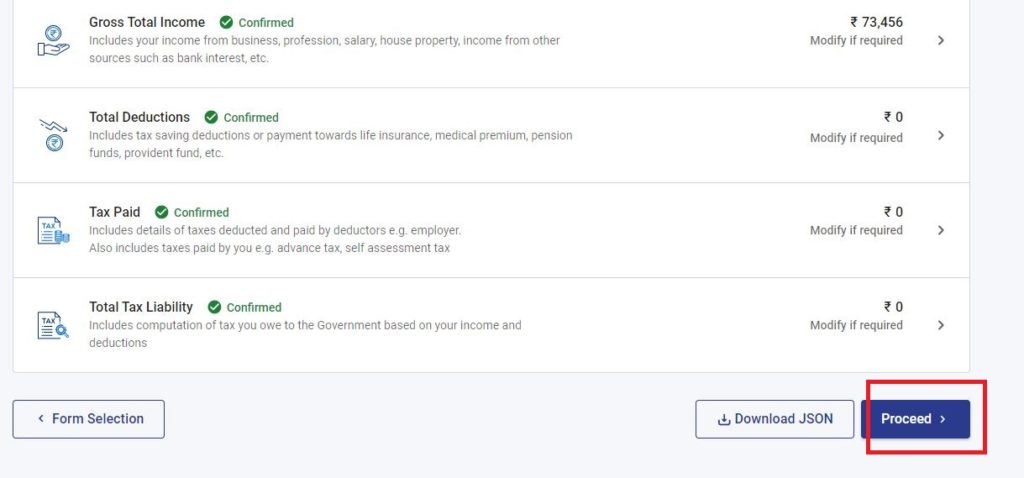
Step 19:
Verify all the sections as above and then click on Proceed.
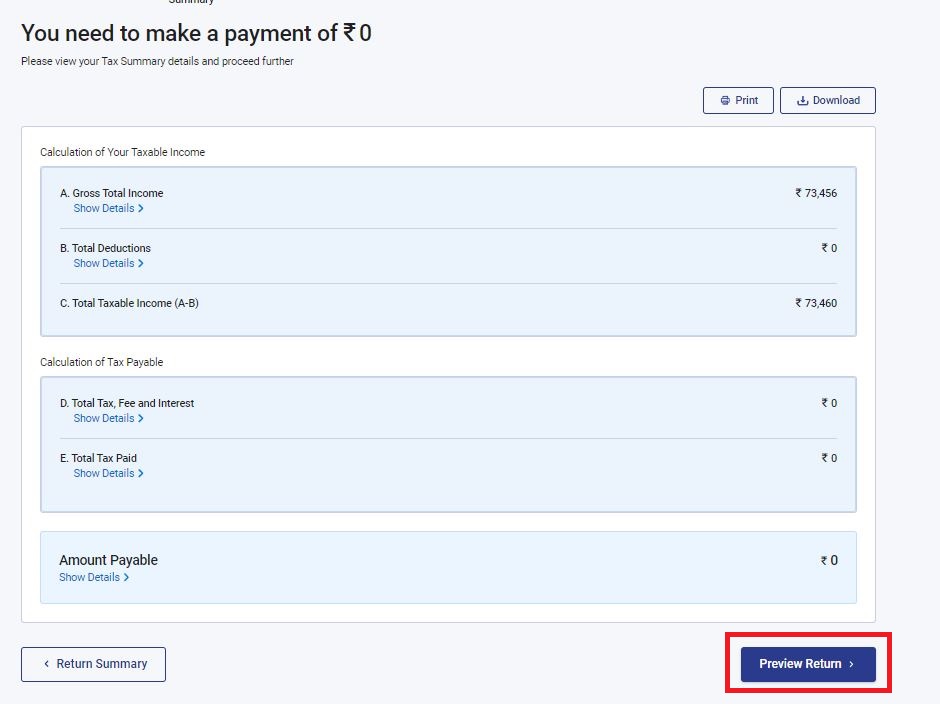
Step 20:
Now you will the summary of the e-filing. Here you will see what amount of money you have to pay or you will get refund. If you agree, then click on Preview Return. If not, click on return to summary and make the corrections.
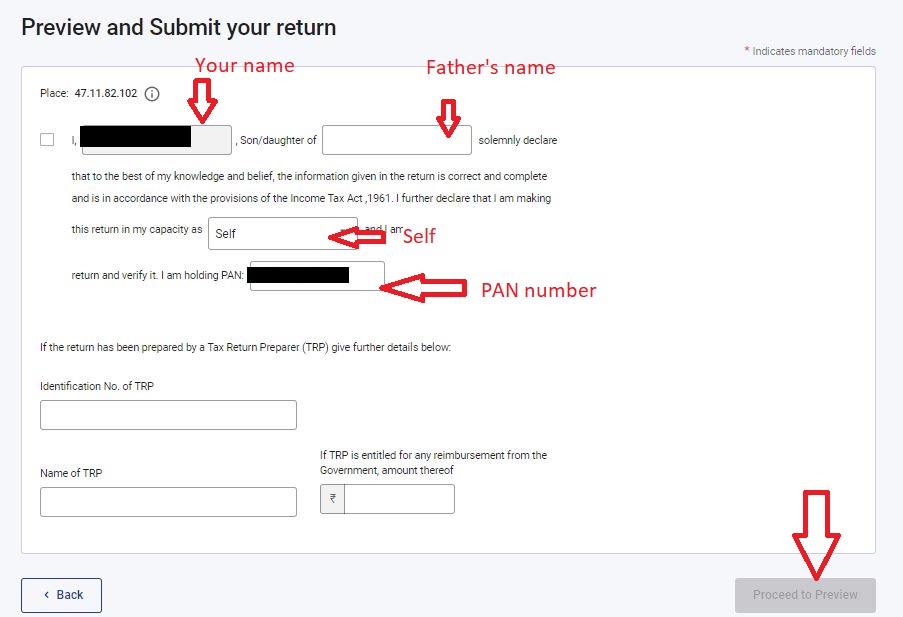
Step 21:
Enter the details of your name, father’s name and PAN details in the declaration form. Most of the field’s will be auto filled. If not, then enter the values.
If you are yourself filing the return, keep the second section for “TRP” blank.
Click on Proceed to Preview
Step 22:
In the preview your will see the actual ITR-1 form filled with your details. Verify and click on Submit.
Step 23:
Once submitted, you need to e-verify your return.
Select any option for e-verification as your like and complete the e-verification process.
Step 24:
Once the e-verification is done, you have successfully filed your Income Tax Return using the new portal. You will get a confirmation on your email address.
Thanks for reading! Let me know if you have any question in the comment section below.